Step by Step Getting Started Tutorial for Data Logger V3

Inquiry and support for Freematics products
Post Reply
stanley
Site Admin
Posts: 1039
Joined: Sat Mar 01, 2014 3:15 am

Step by Step Getting Started Tutorial for Data Logger V3

Post by stanley »

1. Wire the device with programmer (USBasp or Arduino as ISP) as is decribed in the Programming the Hardware section

2. Connect the programmer to computer’s USB port.

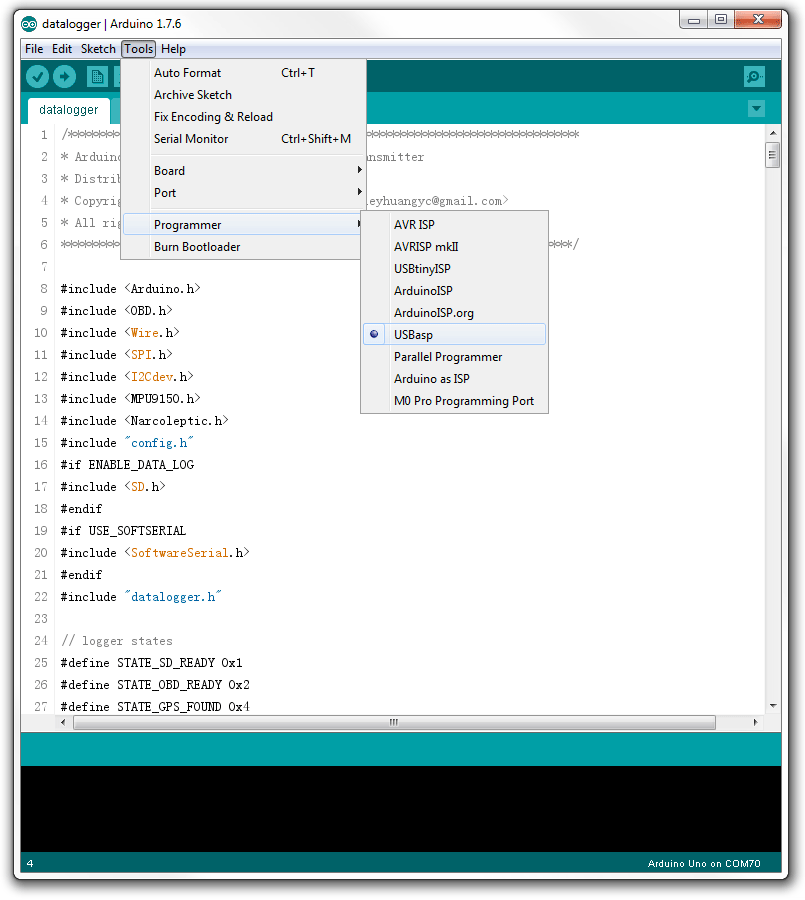
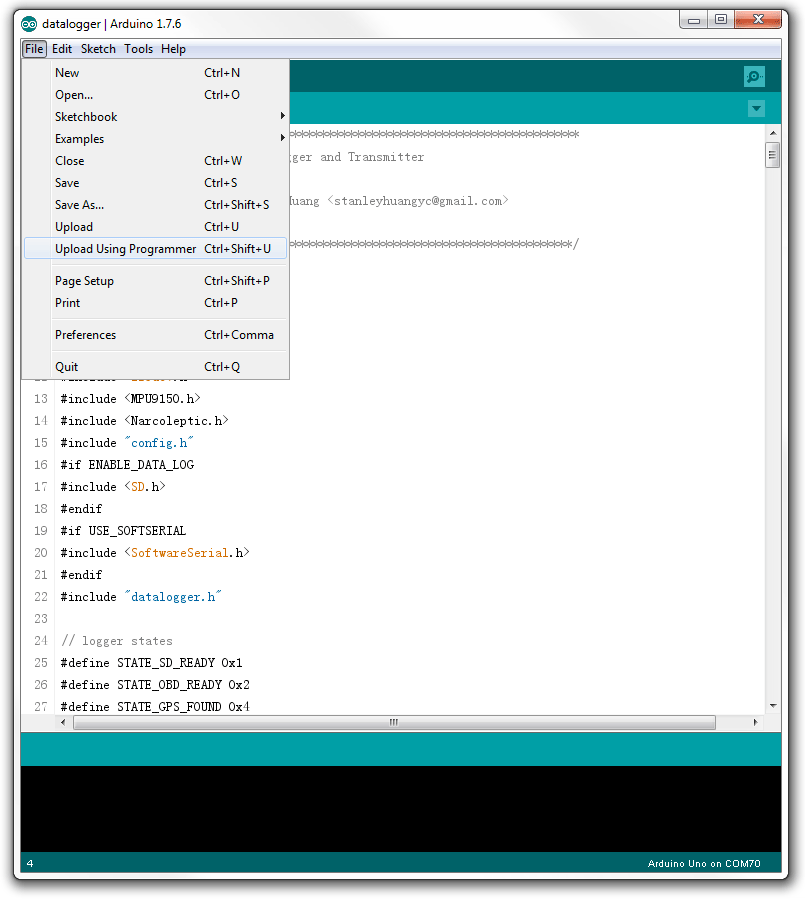
3. Start Arduino IDE, load the datalogger sketch (install all the libraries if not done) and choose USBasp or Arduino as ISP to upload the sketch.
Image

Image

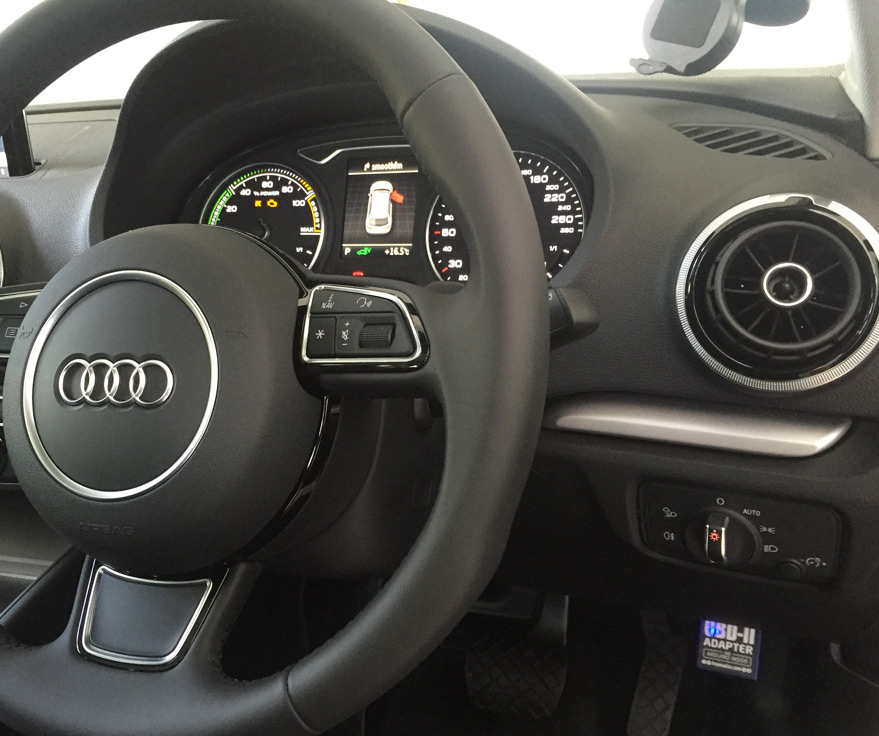
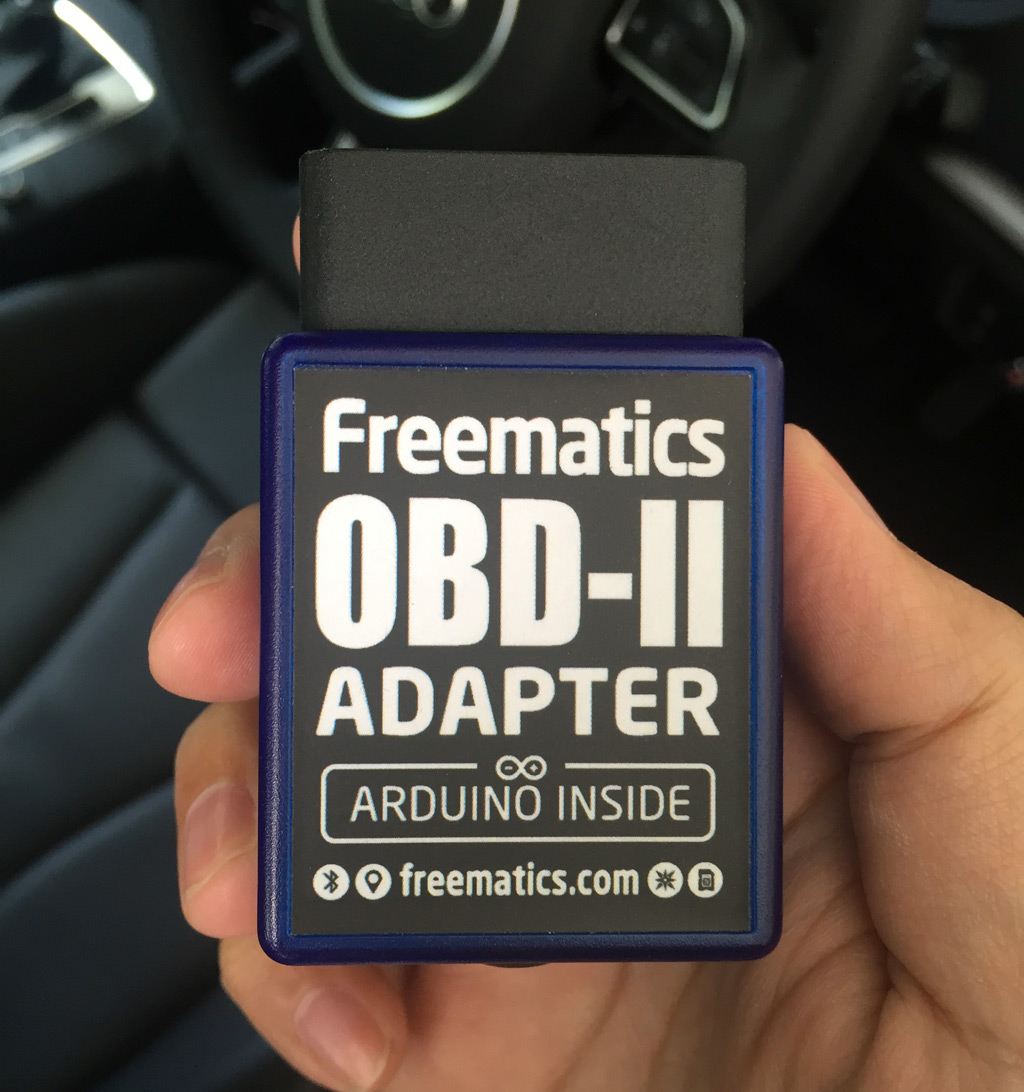
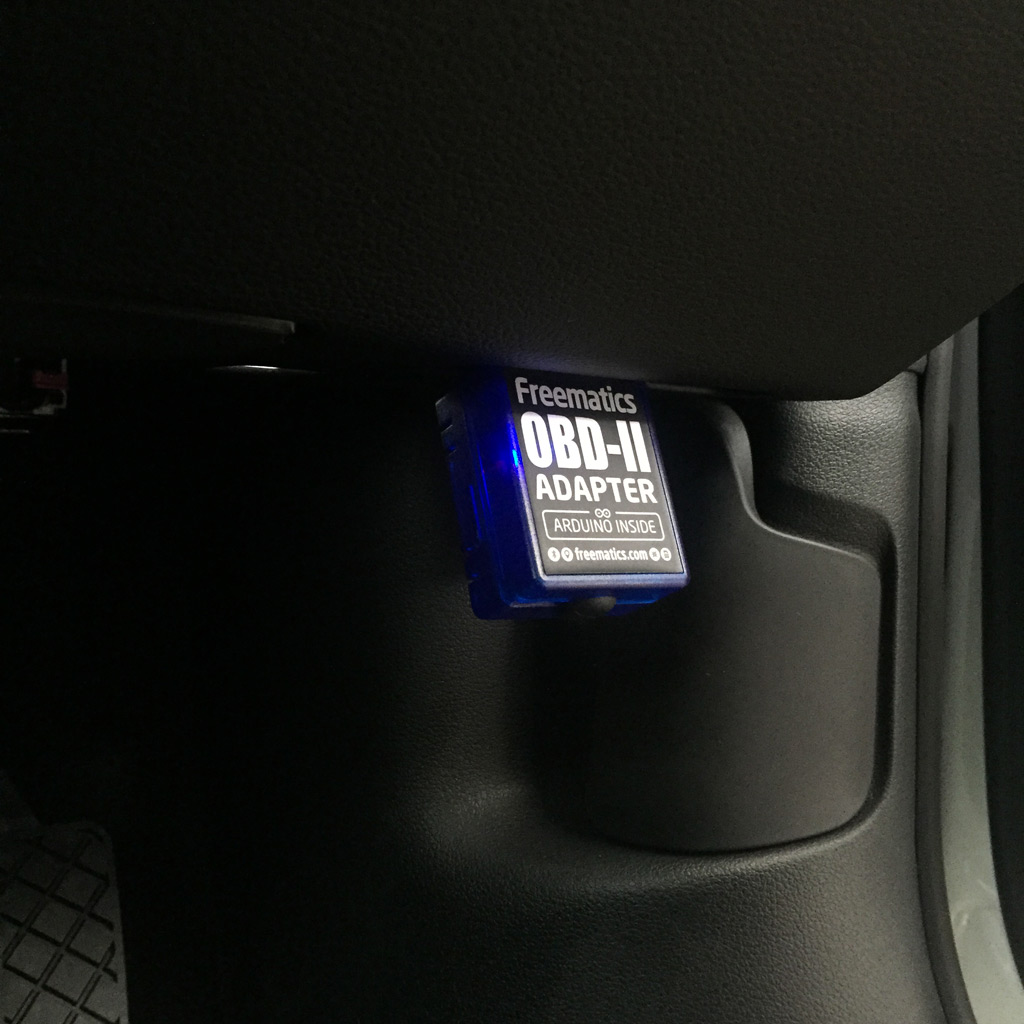
4. Unplug the device from programmer, insert a microSD card (if you need data logging) and go to your car, locate your OBD-II port and plug in the device into the port.
Image

Image

Image

The device should start flashing once plugged in. If a microSD card is inserted, it will start logging onto the card after the engine started. Each file is limited to 256KB and a new file will created once the size is reached. You can change the option in config.h.

Make sure to turn on the ignition key before plugging in the device so that it can be aware of OBD-II presence. As is designed in the sketch, ifit is powered on without pluggin into OBD-II port, it will start working in GPS & MEMS logging and no longer attempt to connect to OBD-II. Of course you can change this.

5. If Bluetooth is available in your device, you can view the live data with your smartphone.

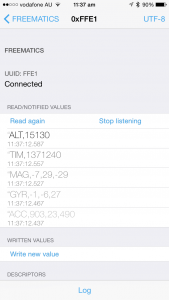
On iOS, install LightBlue Explorer from App Store. Once opened, it will show the nearby BLE devices. Choose Freematics (sometimes shown as HMSoft) and go with prompt. Tap on the top right option to change the data format to UTF-8 (default is HEX) and tap on Listen for notifications and you will see data coming and updating like following.
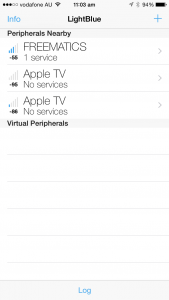
Image Image Image

Now the data is coming through to your smartphone and it’s time to write your own App for illustrating the data and doing something with it.
kman42
Posts: 7
Joined: Tue Sep 22, 2015 10:23 am

Re: Step by Step Getting Started Tutorial

Post by kman42 »

Thankyou very much for this post, I was just about to start a post asking how to do all this!

One question - I would like to use this device to record long-term data, over a month or so at a time. You mentioned that you need to plug in the device after starting the car, and that there was a way to change this. How do I change the setting so that I can basically program it, plug it in, and forget about it for a month?

cheers
stanley
Site Admin
Posts: 1039
Joined: Sat Mar 01, 2014 3:15 am

Re: Step by Step Getting Started Tutorial

Post by stanley »

It is possible to change everything. It is open-sourced. You get the source code and can modify it to fit your application.
spiegelcoder
Posts: 1
Joined: Thu Oct 22, 2015 8:18 pm

Re: Step by Step Getting Started Tutorial

Post by spiegelcoder »

Hi stanley,

I'm new in arduino programming, but that shouldn't be much of a problem if I want to simply test the example from this tutorial? I uploaded the example sketch on the Vehicle Data Logger and I got some data on the microsd card like expected. But I cannot see the data using the Freematics Data Charting Service, nor using the Data2KML program offline. I found some sample data and they work fine. I tried comparing the content of my data with the sample data, but as mentioned before I'm a newbie and that didn't help a lot.
Please help.
Attachments
DAT00001.7z
(15.54 KiB) Downloaded 1039 times
Post Reply